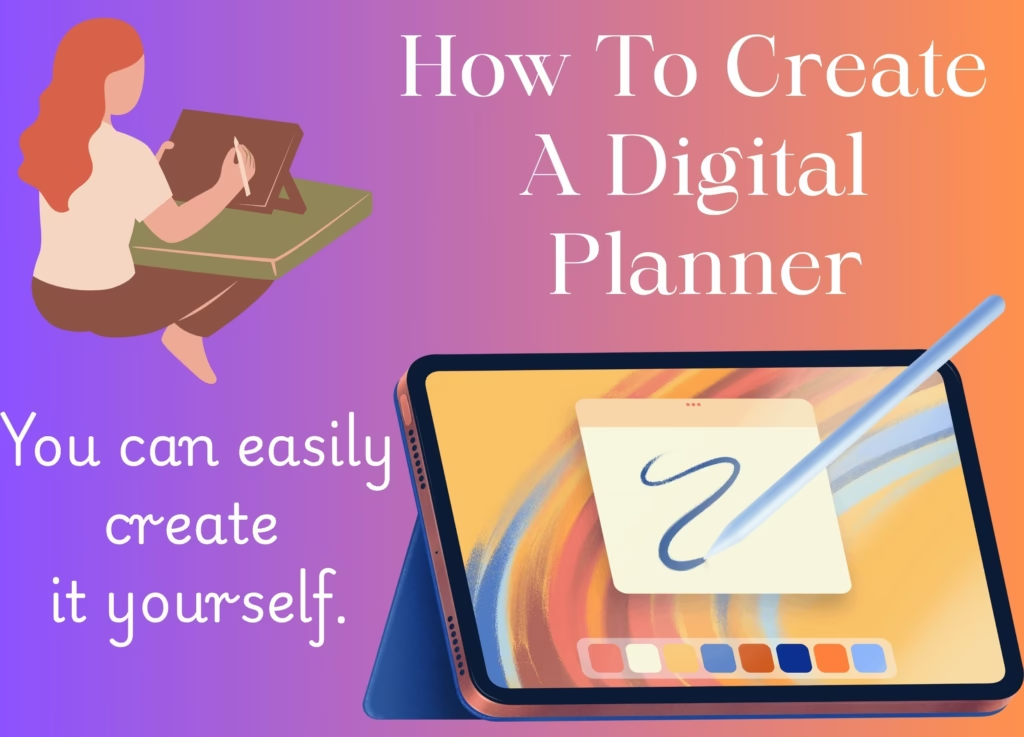
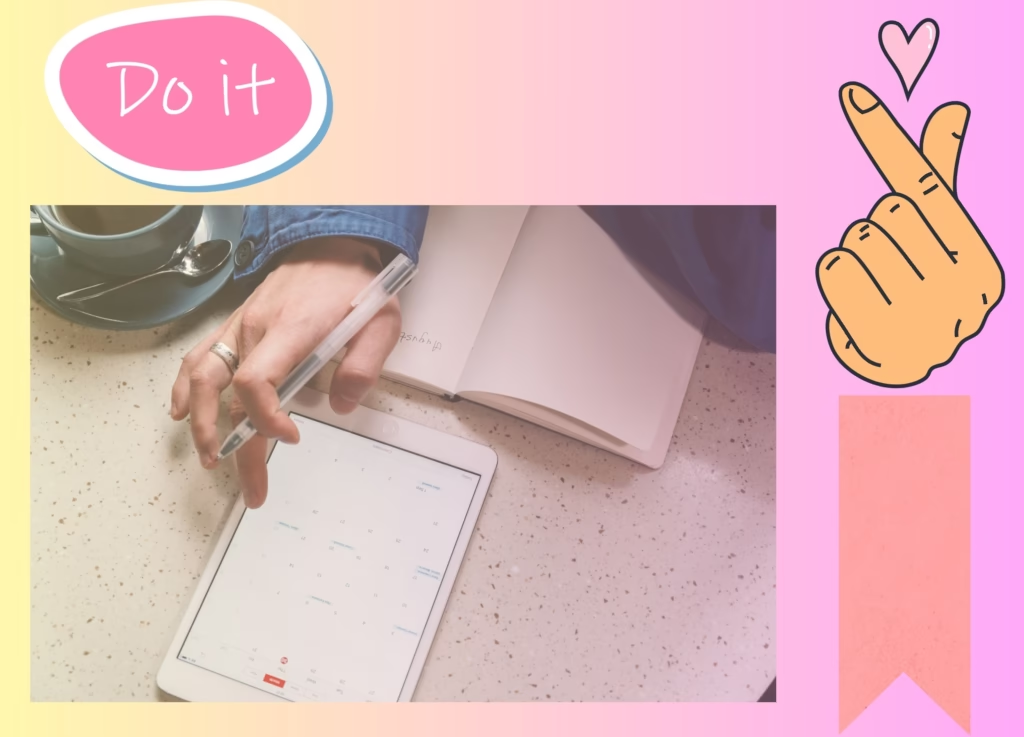
Digital planners are changing the way we organize our lives. If you’re new to this world and wondering how to use a digital planner, you’re in the right place. Whether you’re using an iPad, Android tablet, or GoodNotes, this guide walks you through everything you need to know — step-by-step.
💡 Ready to start planning? Grab your All-in-One Digital Planner — it works with GoodNotes, Notability, and other PDF apps.
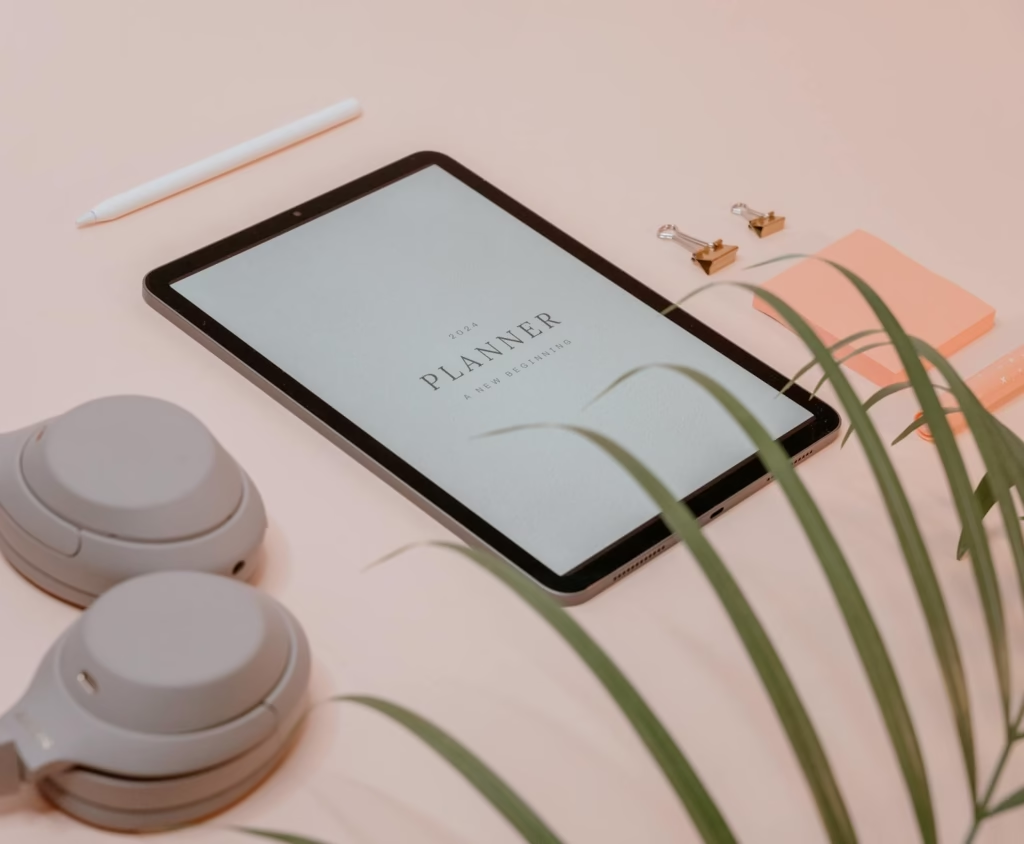
What is a Digital Planner?
A digital planner is a hyperlinked PDF you use in a note-taking app like GoodNotes, Notability, or Xodo. It replicates the look of a traditional paper planner — but with clickable tabs, stickers, and typing or handwriting options.
You can write on it with a stylus, type directly, or even paste digital stickers. It’s perfect for:
- Daily and weekly planning
- Budgeting
- Meal prep
- Goal setting
- Habit tracking
Tools You Need to Start Digital Planning
Before diving into how to use it, here’s what you need:
- ✅ A tablet (we recommend these options)
- ✅ A stylus (like Apple Pencil or S Pen)
- ✅ A PDF annotation app like:
- GoodNotes
- Notability (for iOS)
- Xodo (great for Android)
Step-by-Step: How to Use a Digital Planner
1. Download Your Digital Planner
First, download your planner. If you don’t have one yet, try this free GoodNotes planner to practice.
Once downloaded:
- Save the file to your tablet or cloud storage.
- Open your preferred PDF app and import the planner.
2. Import Into Your Note-Taking App
Each app has a slightly different import process:
For GoodNotes:
- Tap “+ New”
- Choose “Import”
- Select the planner file
For Xodo/Android:
- Open the app and select your planner PDF from storage
- It opens automatically as a notebook
3. Use Hyperlinked Tabs for Navigation
Most planners have clickable tabs for monthly, weekly, and daily views.
- Tap a month → it jumps to that page.
- Tap “Home” → goes back to the dashboard.
- Click to-dos, budget, or notes — it’s all one tap away.
4. Write, Highlight, or Type
Once opened, use your stylus to handwrite on any page.
- Use the pen tool to write
- Highlighter for marking tasks
- Text tool if you prefer typing
You can also resize text, move elements, and add images or stickers!
5. Make It Yours: Stickers & Custom Sections
Many digital planners come with sticker sets or you can add your own.
For example, you can grab fun seasonal items like our Funny Valentine’s Day eCards and paste them into your pages for themed spreads.
6. Reuse It Every Year
Unlike paper planners, many digital planners are undated — meaning you can reuse them every year. Just duplicate the file and reset the dates.
Pro Tips for Beginners
- Back up your planner to Google Drive or iCloud weekly
- Use split screen (if your tablet supports it) for multitasking
- Bookmark frequently used pages
- Try digital habit trackers and stickers to stay motivated
Final Thoughts
Learning how to use a digital planner is easy once you’ve got the basics down. It’s like combining your favorite paper planner with the power of a tablet — no ink, no waste, no mess.
So, whether you’re goal-setting, meal-planning, or just trying to stay sane — a digital planner is your new best friend. Get started now with our All-in-One Planner and see the difference it makes!
Internal Links Summary:
- ✅ Product: All-in-One Planner
- ✅ Product: Funny Valentine’s eCards
- ✅ Blog: Best Tablet for Digital Planners
- ✅ Free Planner: GoodNotes Digital Planner (Free)
👉 Download GoodNotes app — official website.