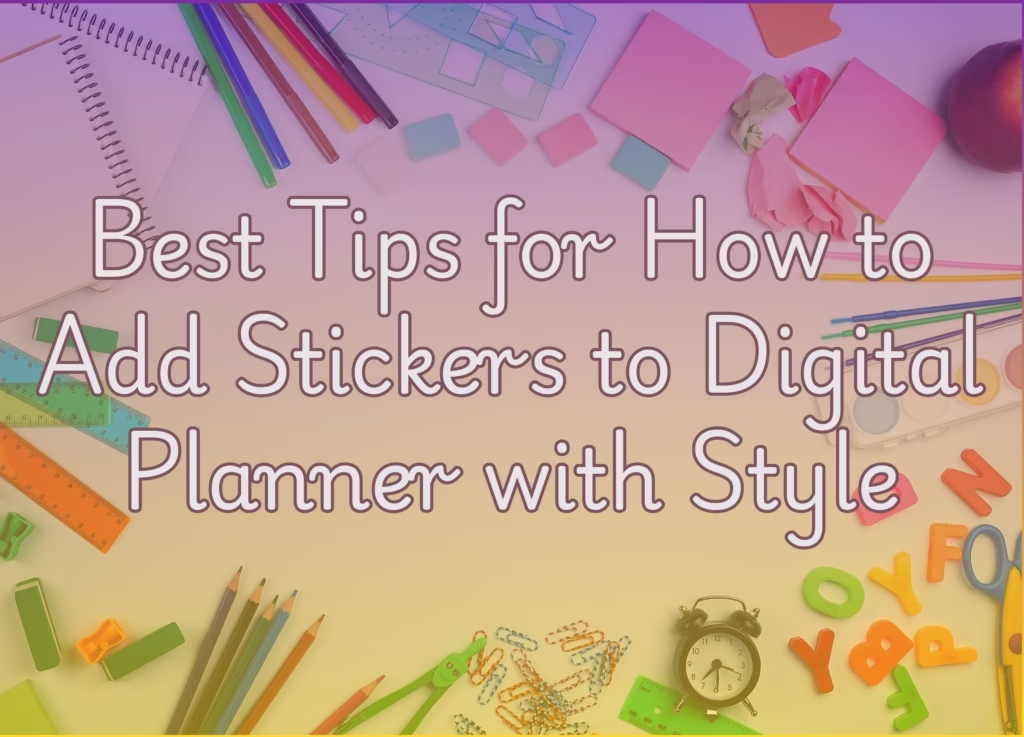
Babe, Let Me Show You Exactly How to Add Stickers to a Digital Planner (It’s SO Fun, You’ll Be Obsessed)
Okay listen, you know how I’ve been totally into digital planning lately, right? Well, I HAVE to tell you what changed the game for me… stickers! I swear, once I figured out how to add stickers to a digital planner, everything felt so much more me. It’s not just about organizing your life—it’s like turning your to-do list into something adorable and exciting.
And the best part? It’s super simple. I’ll walk you through every step, just like I showed you how to do those Canva templates, remember?

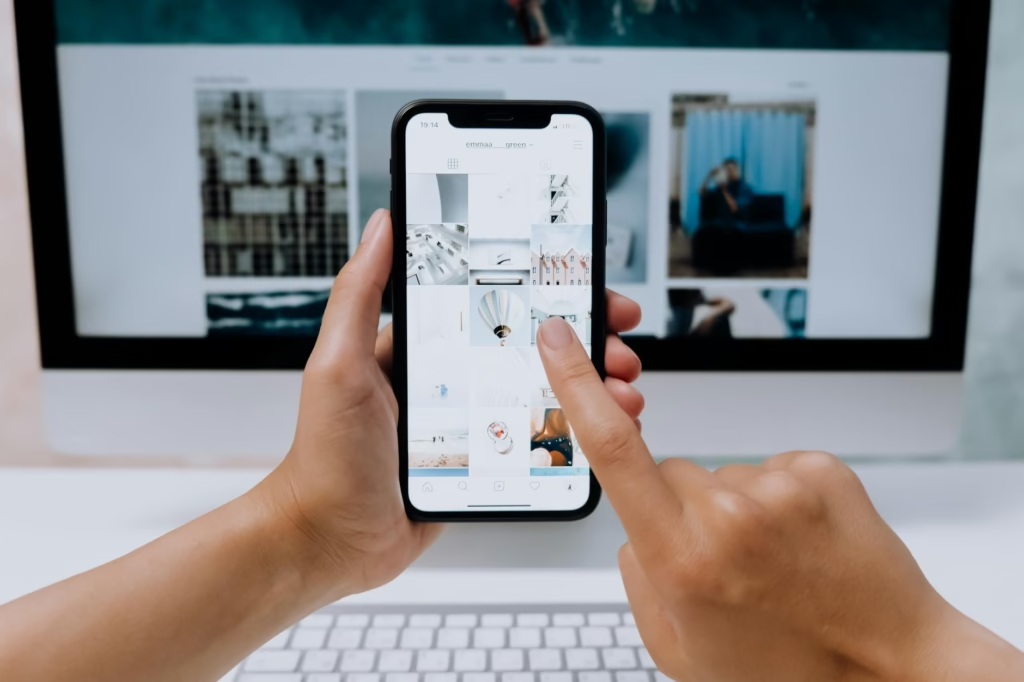
Step 1: Open Your Planner in GoodNotes
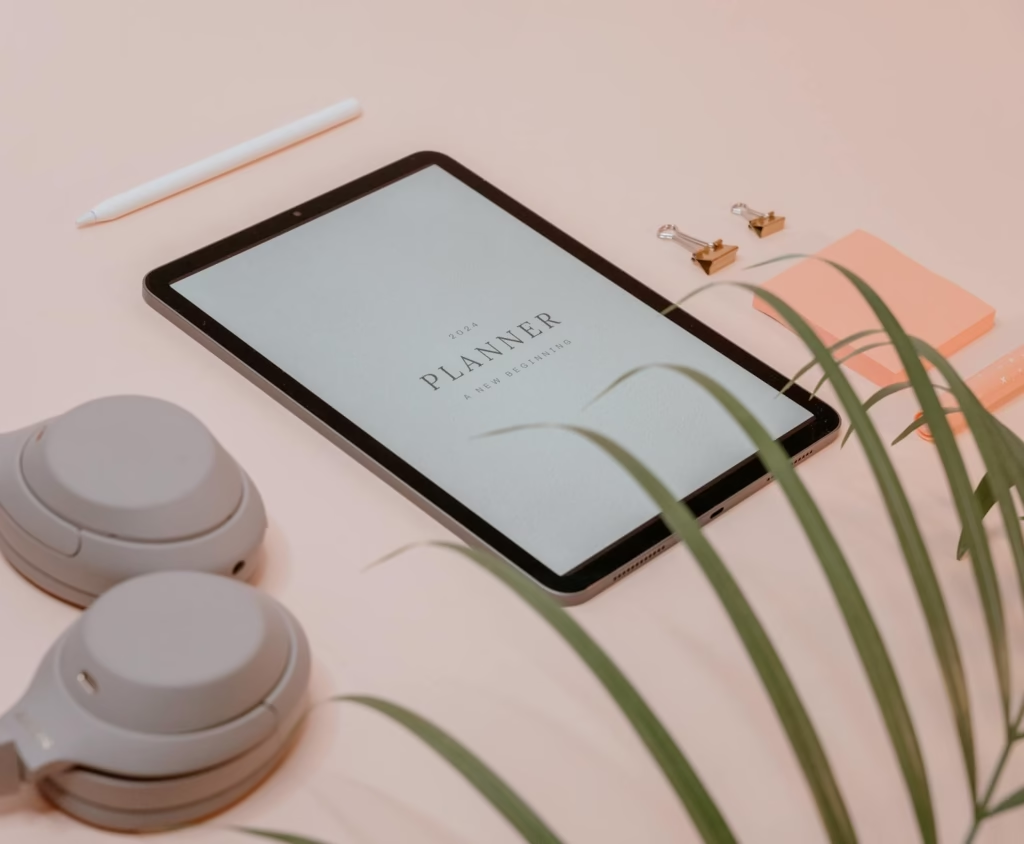
Girl, first things first—open up your digital planner inside the GoodNotes app. If you don’t have one yet, trust me, go check out the planners on this site—they’re hyperlinked and super aesthetic. I’m using one of those and it feels like I made my own little cozy workspace on my iPad.
Once you’ve got your planner open, just go to any page you want—like your weekly spread or that habit tracker you’ve been meaning to fill out.
Step 2: Tap the Little Image Icon
So now, look at the top menu bar in GoodNotes. There’s this tiny little image icon—it kinda looks like a mountain inside a frame? Tap that.
This is the magic button that lets you pull in stickers from your camera roll or files. I made a whole folder just for my stickers. It’s called “Happy Planner Things” lol. Trust me, it saves time later when you’re scrolling through screenshots and memes.
Step 3: Choose Your Sticker
Now, when your photos or files open, just select the sticker you want to use. I’m using those printable planner stickers I downloaded last night. They’re SO cute—little quotes, tiny coffee mugs, pastel shapes… basically, it’s my aesthetic in a folder.
And omg, the moment that sticker appears on the page? I literally gasped the first time. It’s so satisfying! Like placing the perfect finishing touch on your layout.
Step 4: Move It, Resize It, Make It Yours
Okay now here’s the fun part—you can drag it around, resize it however you want, even give it a little tilt if you’re feeling fancy. I like putting small stars near my goals and cute checkboxes on my to-dos. It makes me want to complete tasks just so I can admire my spread, lol.
Seriously though, it’s not just planning—it’s self-care. Like, I actually look forward to opening my planner in the morning.
Step 5: Reuse Stickers (Lasso Tool is Your BFF)
And babe—this is the part that changed my life—you don’t need to import the same sticker over and over again. GoodNotes has this tool called the lasso tool. It’s the one that looks like a little rope.
Here’s how it works:
- Tap it.
- Draw a loop around the sticker you already placed.
- Tap once and hit “Copy.”
- Go to another page, tap and hold, then press “Paste.”
Boom. Your sticker is there again, perfectly ready to go. You can fill your entire planner with your favorite little doodles without lifting a finger twice.
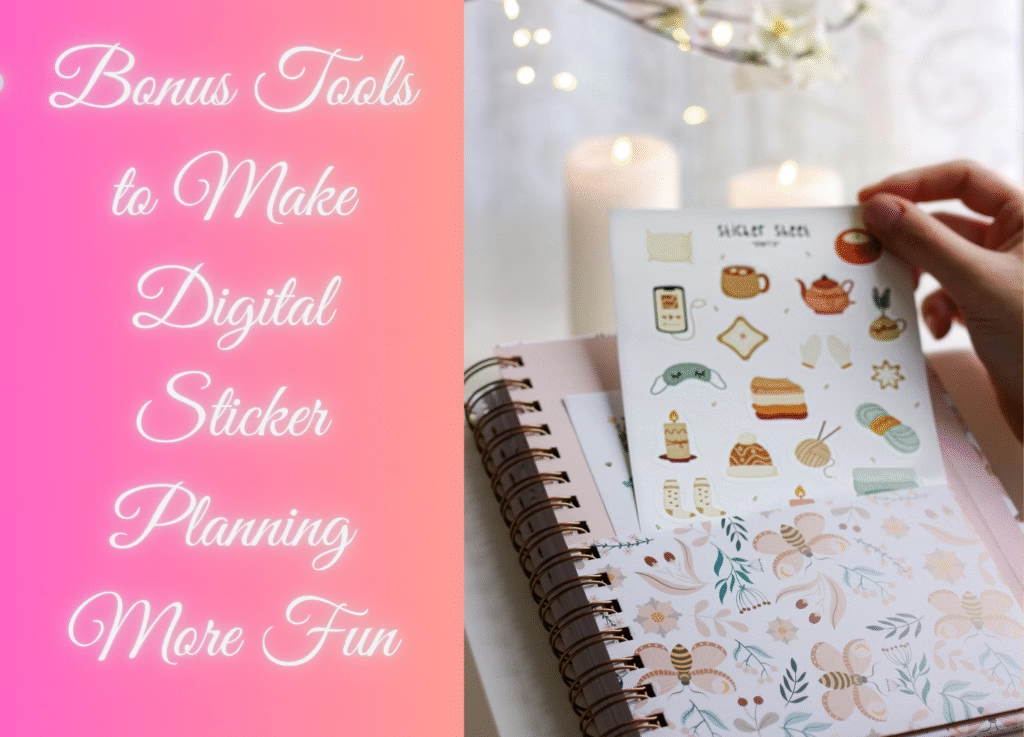
Real Talk—Why I’m OBSESSED with Digital Stickers
I know it sounds silly, but adding stickers to my planner honestly makes me feel more motivated. I’m not just “planning,” I’m creating this happy, calming, and really personal space. And when I use my Hyperlinked Digital Planner, everything flows so smoothly—jumping between pages, tracking goals, journaling—it’s like everything just clicks.
Plus, those sticker printables? Total game-changer. I printed some, but I mostly use the PNG versions for digital—and you know me, once I start decorating, I can’t stop. It’s like scrapbooking, but without the mess.
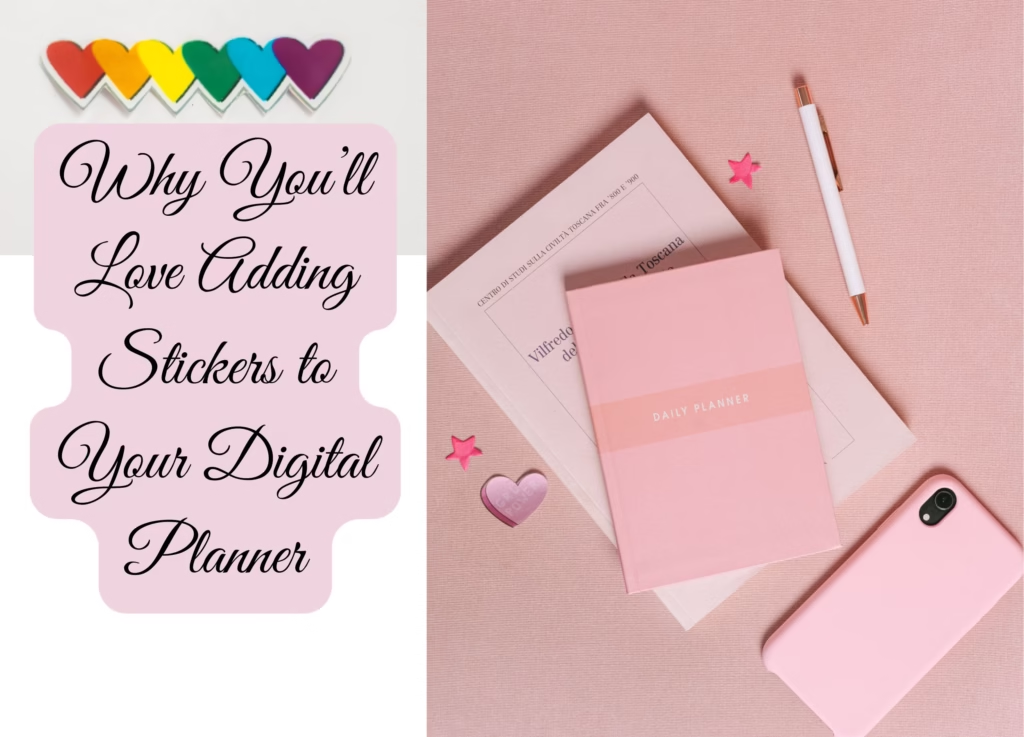
So Bestie, You Have to Try This
Please do it. Open your planner. Add your first sticker. Even if it’s just a tiny heart or a reminder to drink water. You’ll be hooked—I promise.
And if you need help picking a planner or want me to send you my sticker folder, just say the word. Or better yet, check out the planner shop here and the printable sticker sets I’ve been using. You’re gonna love it.
And if you ever want to design your own custom stickers, I highly recommend using Canva.com—it’s super easy and so much fun to get creative!