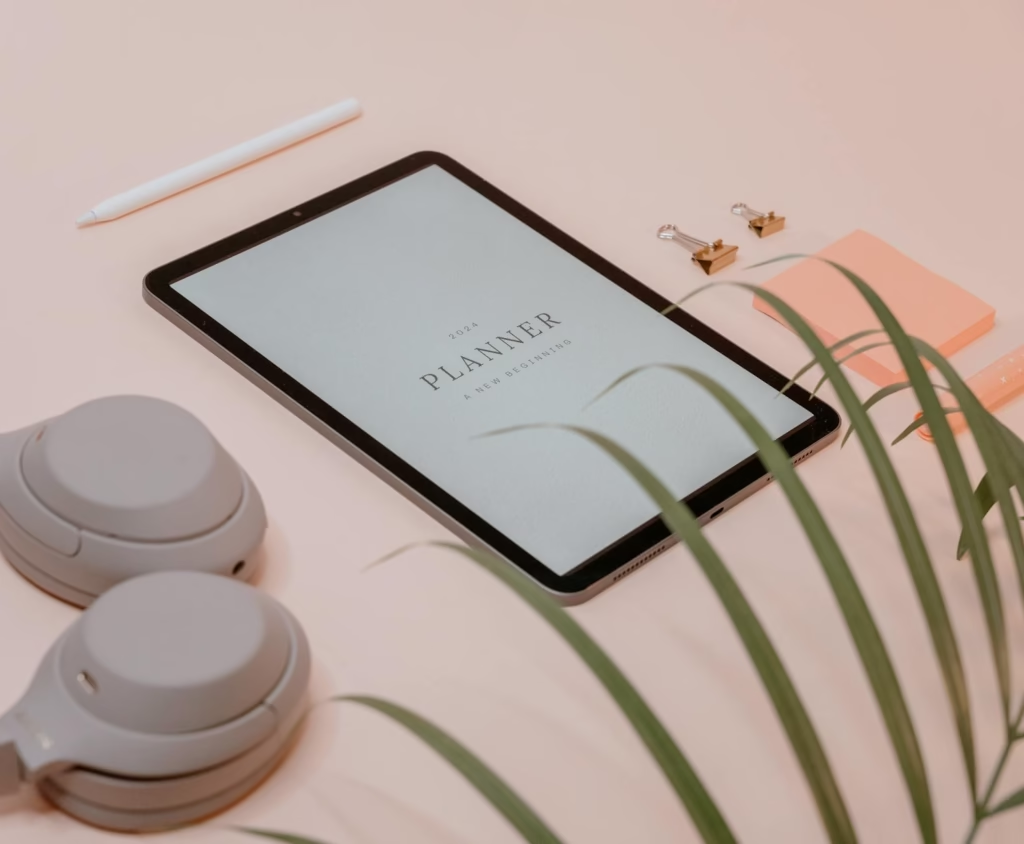
Learn How to Sell Your Digital Planner in Just One Weekend
Looking to create digital planner pages that are stylish, functional, and beginner-friendly? You’re in the right place! Digital planners are a great way to stay organized, set goals, and boost productivity — and with Canva, anyone can design one, even without design experience.
In this complete tutorial, you’ll learn how to create a digital planner on Canva step by step, including how to add hyperlinked tabs for easy navigation. Whether you’re planning to sell your planner or use it personally, this guide covers everything you need.
💡 Bonus: Want to skip the design process? Grab a professionally designed, ready-to-use digital planner at a special discounted price — available for just 3 days! (Details at the end.)
What You Need to Create a Digital Planner
- A Canva account (Free or Pro)
- A clear structure or layout plan
- (Optional) A PDF annotation app like GoodNotes or Notability to test hyperlinks
Step-by-Step Guide to Create Digital Planner in Canva
Plan Your Digital Planner Layout
Before you start designing, decide what sections your planner will include. Here are some popular ideas:
- Daily, Weekly, or Monthly Pages
- To-Do Lists
- Notes Section
- Budget Trackers
- Meal Planners
- Goal Setting Pages
- Teacher Schedules or Student Planners
Having a solid plan will make it easier to create digital planner pages that are cohesive and useful.
2. Set Up Your Canva Canvas
Go to Canva → Create a Design → Custom Size
Use the following dimensions for best results:
- Portrait: 2048 x 2732 px
- Landscape: 2732 x 2048 px
This will be the base of your digital planner.
3. Design a Beautiful Cover Page
First impressions count! Make your planner stand out with an eye-catching cover. Include:
- A title (e.g., “2025 Digital Planner”)
- Your name or brand logo
- Decorative or minimalist design, depending on your style
This sets the tone for your entire digital planner design.
4. Add Hyperlinked Tabs for Easy Navigation
This is where your planner becomes interactive! To add clickable tabs:
- Add rectangles or shapes to the left/right margin of each page
- Label each one (e.g., Home, Calendar, Notes, To-Do)
- Make sure tabs are placed consistently across all pages
- Use Canva’s “Link” feature to hyperlink each tab to the correct page
Hyperlinked tabs make your planner more user-friendly and professional.
🔗 Want to learn how to create and sell a digital planner over a weekend? Check out this helpful guide from The Pink Ink:
How to Make a Digital Planner to Sell in a Weekend
Let me know if you’d like to continue with the export and testing section, or need help improving SEO with image alt text, internal links, and more!
FREE PRINTABLE FITNESS PLANNER PDF
5. Design Each Section Page
Use Canva templates or your creativity for:
- Daily and Weekly spreads
- Monthly calendars
- Notes pages
- Trackers (fitness, budget, habits)
- Custom sections based on your niche
6. Add Hyperlinks
Hyperlinks make your planner interactive. Here’s how:
- Click on a tab or button
- Press the Link icon
- Type
#pageX(Replace X with your target page number) - Do this for all tabs and return buttons
Pro tip: Add a “Home” icon on every page for easy navigation!
7. Download the Planner
Go to Share > Download
Select PDF (Standard)
Uncheck “Flatten PDF” to retain hyperlink functionality
Click Download.
8. Test It
Open in:
- GoodNotes
- Xodo
- Notability
- Check if hyperlinks work as intended

Don’t Want to Design From Scratch?
Grab these beautiful, ready-to-use hyperlinked planners from my store. They’re on a special sale for just three days, and prices will go up after that, so grab yours now!
Available Planners:
- Hyperlinked Digital Planner
A stylish all-in-one planner with clickable tabs for notes, calendar, goals & more! - Daily + Weekly + Meal + Teacher Planners Bundle
Get 4 different planners in one bundle! Ideal for multitaskers and teachers. - Teacher Planner
Designed for lesson planning, student tracking, and scheduling. - Shop Digital Planners
View all premium planners in one place and pick what fits your routine.
Limited Time Offer:
Prices are reduced for the next 3 days only!
After that, prices will go up, so don’t miss this chance to grab these premium planners at a steal.
Final Thoughts
Creating your digital planner in Canva is empowering and easy once you get the hang of it. But if you’re short on time or want a polished product instantly, check out the planners linked above.
Start organizing your life beautifully – and smartly!
Have questions? Drop a comment or reach out – I’d love to help.


Great information. Lucky me I recently found your site by chance
(stumbleupon). I’ve saved it for later!
Oh thats great